Prerequisites: A project with bootstrapping complete. If you don’t have one yet, follow Tutorial: Set up your first project.
Where prompts live
Navigate to Tracking > Prompts in the sidebar.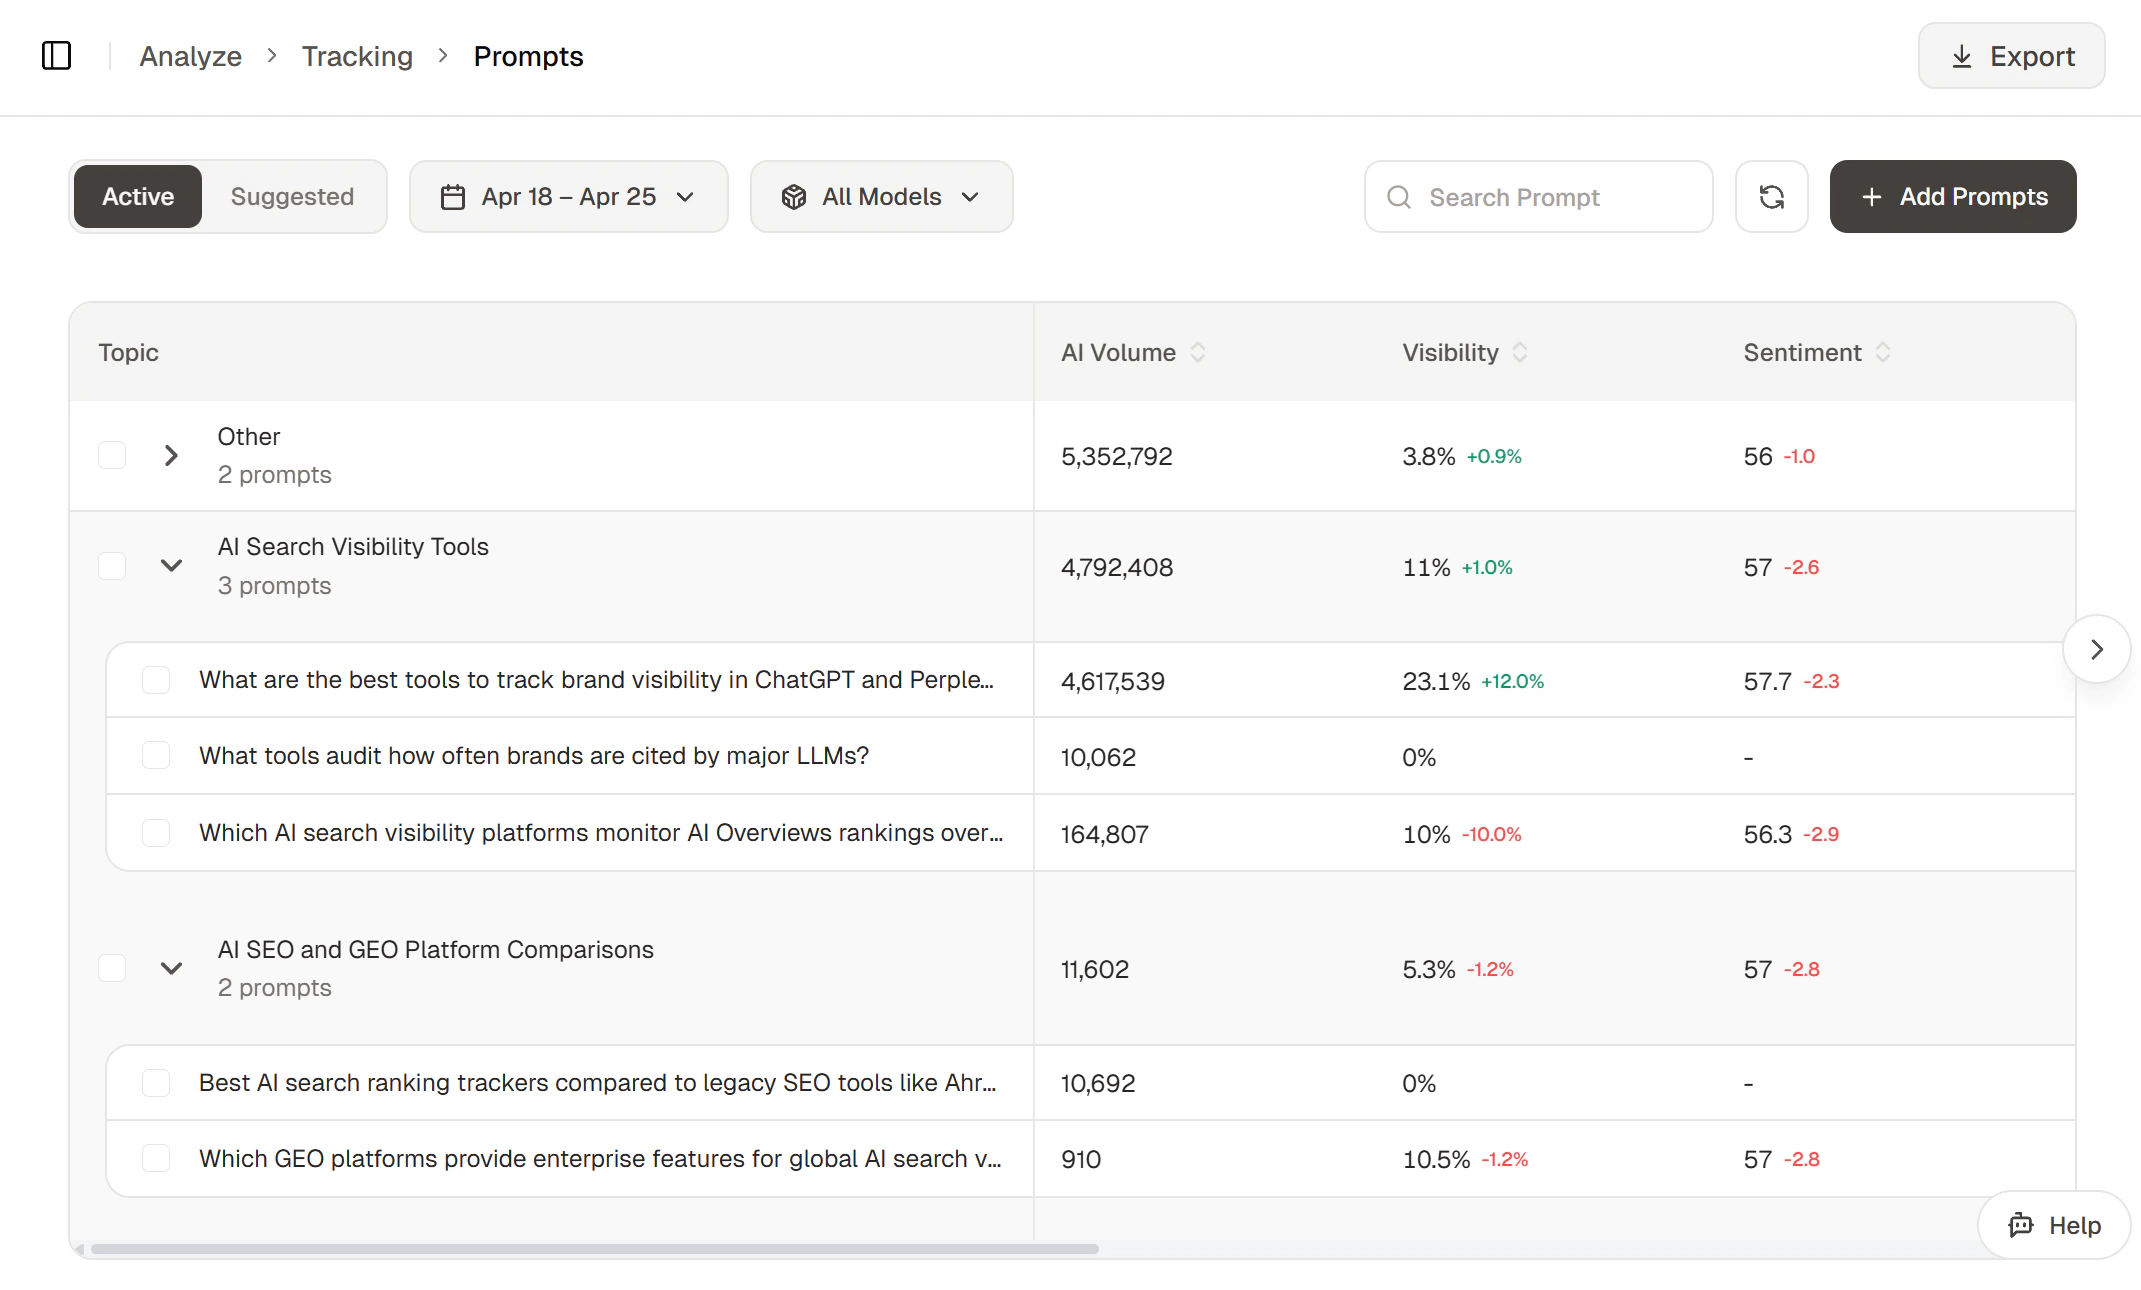
What you see on this page
The page has several sections — understanding each makes the rest of the tutorial click.Tabs
- Active — prompts that Topify sends to AI providers daily and tracks.
- Suggested — AI-drafted prompts waiting for your decision. Promote them to Active or reject them.
Filter bar
The bar above the table controls the metric columns on the right:- Date range — the period that Visibility, Sentiment, and the trend deltas are calculated over.
- All Models — which AI providers (ChatGPT, Perplexity, Google AI Overview) are included. Switching narrows the metrics to just that provider.
- Search prompt — text search across prompt content.
- + Add Prompts — add a custom prompt or import from research. See Managing prompts.
Topic groups
Prompts are grouped by topic. Each topic header shows the topic name and the prompt count (e.g. AI Search Visibility Tools — 3 prompts).- Click the chevron on the left of a topic row to expand or collapse it.
- Click the topic row itself to select every prompt under that topic — useful for bulk actions like untracking a whole topic at once.
Columns
The table shows AI Volume, Visibility, and Sentiment for each prompt, with green/red deltas comparing the selected period to the prior one. For full definitions of every metric, see Brand metrics.Steps
Accept a suggested prompt
Switch to the Suggested tab.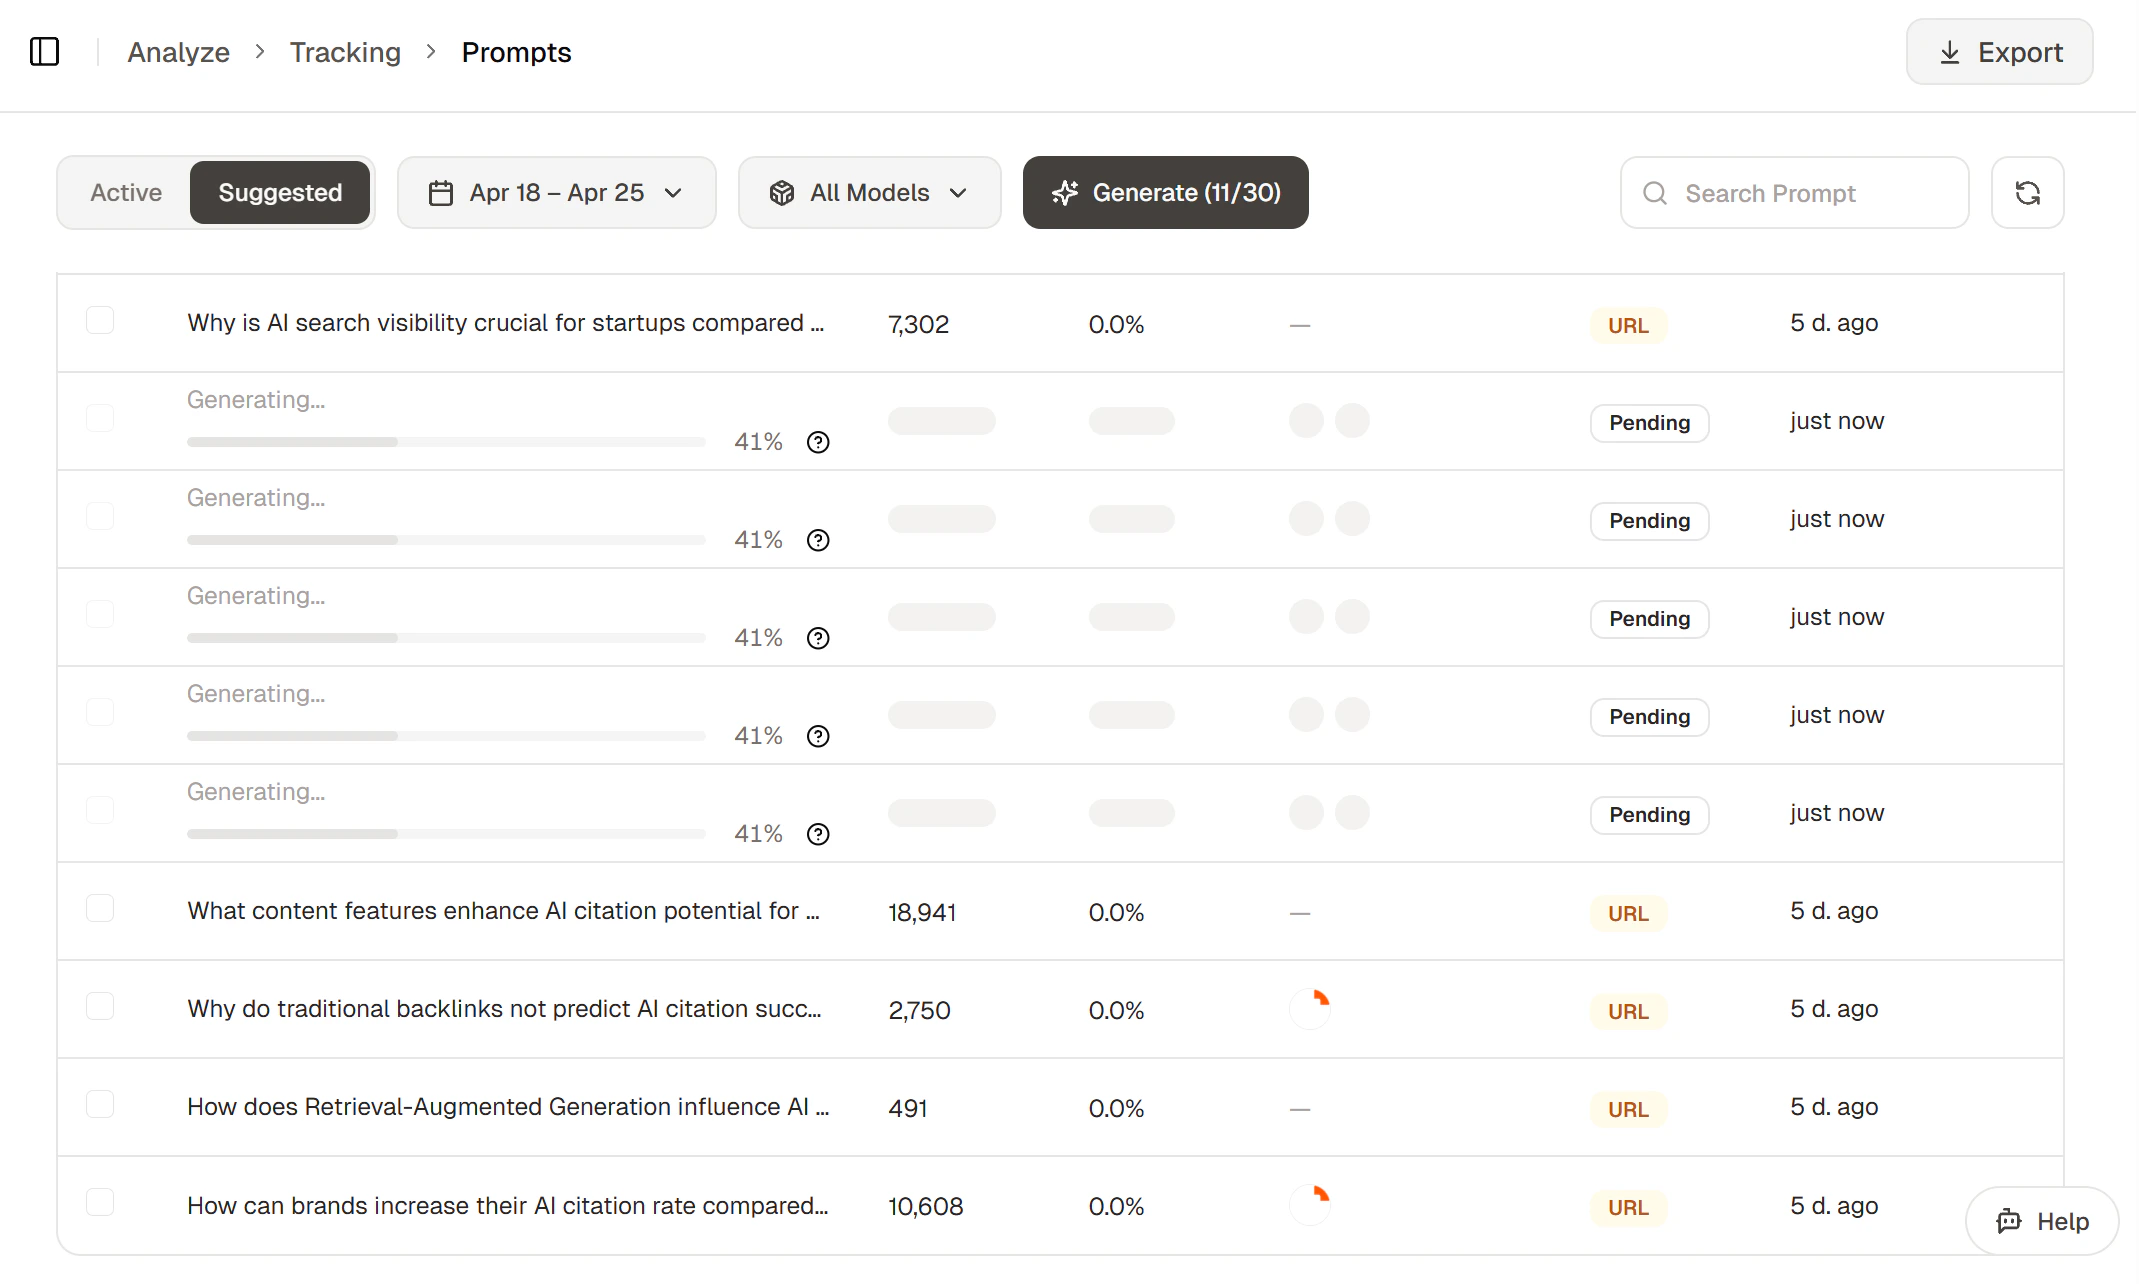
- Suggested — generated from your brand context.
- URL — generated from the From research flow. This takes a URL (your blog post, landing page, or any sub-page of your site) and drafts prompts targeting that page so you can track how AI assistants surface it.
What’s next
Tutorial: Generate articles
Use prompts as input for AI-optimized article generation.
Use the AI agent
Let the agent suggest prompt edits and topic restructures.